There’s a particular kind of frustration that hits when you’ve got your WordPress site up and running, you feel quietly pleased with yourself, and then you realise you don’t actually know where the blog part is. Or whether you need one. Or why your pages look clean but your posts look a bit… thrown together.
I remember the first time I published a blog post and then went to look at it on my own site as a visitor would. The featured image was enormous. The font didn’t match anything else on the page. There was a date, a category called ‘Uncategorised’, and a little author bio I hadn’t written yet that just said ‘admin’. It looked nothing like the calm, trustworthy little site I had in my head.
The good news is that none of it is difficult to fix. It just needs doing in the right order, with someone explaining what’s actually happening and why. That’s what this post is for.
By the end of it, you’ll know how to add a blog to your WordPress site, how to structure it so visitors can actually find their way around, and how to make the whole thing look professional without hiring anyone or spending a penny.
What a Blog Actually Does for Your Website
Before we get into the how, it’s worth being clear on the what. A blog isn’t a diary. It’s not a place to post updates nobody asked for. For a side hustle or an online income project, a blog is the part of your website that keeps working for you after you’ve published it.
Every post you write is a page that Google can find, that Pinterest can pin, and that a real person can stumble across six months from now while searching for exactly what you wrote about. Your homepage tells people who you are. Your blog shows them, week after week, that you know your subject and that you’re worth trusting.
That’s why setting it up properly from the start matters. Not because it needs to be perfect, but because a well-structured blog makes everything else easier, including getting found, building an audience, and eventually earning from the content you’re already creating.
How WordPress Handles Blogs: Posts vs Pages
This is the bit that catches a lot of people out when they first start, so let’s clear it up before anything else.
WordPress has two main types of content: Pages and Posts. Pages are for static content that doesn’t change much, your homepage, your About page, your Contact page, your Offer page. Posts are for your blog. They’re date-stamped, they show up in a feed, and they’re the content that gets indexed, shared, and linked to over time.
When you first install WordPress, it usually sets your homepage to show your latest posts automatically. That’s not what you want if you’ve built a proper homepage. What you want is your homepage to be a Page you’ve designed, and your blog posts to live separately at something like yoursite.com/blog.
Here’s how to set that up. In your WordPress dashboard, go to Settings and then Reading. You’ll see an option that says ‘Your homepage displays’. Change it from ‘Your latest posts’ to ‘A static page’. Then set your Homepage to the page you’ve already built, and create a new blank Page called Blog, set it as your Posts page, and save. WordPress will now use that page as the home for all your posts automatically. You don’t need to add any content to the Blog page itself.
Setting Up Your Categories (And Why Tags Are Optional)
Categories are how you organise your posts into topics. Think of them like the sections in a bookshop. If someone arrives on your blog looking for help with a specific subject, categories let them filter to just that topic without wading through everything you’ve written.
A good rule of thumb is to have between three and six categories to start with. Too few and everything feels muddled. Too many and it looks like you haven’t decided what you’re actually about. For a side hustle blog, your categories might be something like Getting Started, Building Your Website, Generating Traffic, and Making Money Online. Keep them broad enough that every post fits somewhere, but specific enough that they actually mean something to a reader.
Tags are a different matter. WordPress gives you both categories and tags, and a lot of beginners use both without really understanding the difference. Tags are meant to be more specific descriptors, like individual topics within a post. In practice, for most small blogs they add complexity without much benefit. My honest advice is to use categories consistently and leave tags alone for now. You can always add them later once your site has grown.
To set up your categories, go to Posts in your WordPress dashboard and then Categories. Add each one with a simple name and a short description. That description can help with SEO, so don’t skip it, even a sentence or two is fine.
Featured Images: The One Thing That Makes Your Blog Look Instantly More Professional
If there is one single change that will make the biggest visible difference to how your blog looks, it’s being consistent with your featured images. These are the images that appear at the top of each post and in your blog index, the page that shows all your posts in a grid or list.
The problem most beginners run into is that they use whatever image feels right for each post, with no thought for size, style, or colour. The result is a blog index that looks like a jumble sale. Some images are horizontal, some vertical, some bright, some dark, and the whole thing feels chaotic even if the writing is excellent.
Pick a consistent image size before you start and stick to it. For WordPress blogs, 1200 by 628 pixels works well for most themes. Choose images with a similar colour tone and mood, warm and natural for a lifestyle or side hustle blog works beautifully. Free sites like Unsplash and Pexels have huge libraries of high-quality lifestyle photography you can use without paying anything.
When you upload a featured image to a post, WordPress will crop it to fit your theme’s layout. If it looks odd, you can adjust the crop in the media library. Take a few minutes to check how each post looks on your blog index page before you publish.
👇 Pause and Think If someone landed on your blog index right now, would it look like a considered, trustworthy resource — or a bit like a notice board that nobody’s tidied up? Which bit feels fiddliest for you — categories, menus, or making it look tidy? Pop it in the comments below.
Sorting Your Menus So Visitors Can Actually Find Things
Your menu is the map of your site. Get it wrong and visitors wander around, can’t find what they came for, and leave. Get it right and people naturally move from your homepage to your blog to your About page to your Contact page, exactly the journey you want them to take.
In WordPress, you manage your menus under Appearance and then Menus. You can create a primary menu for your main navigation and a footer menu for the less essential links like your Privacy Policy and any legal pages.
Your main menu should be short. Five or six items at most. A typical setup for a side hustle blog might include Home, Blog, Start Here, About, and Contact. That’s it. Resist the urge to add everything. A cluttered menu makes a site feel overwhelming, and overwhelmed visitors don’t stick around.
The Start Here page is worth a mention on its own. This is a page, not a post, that acts as a guided introduction to your site for brand new visitors. It might say something like: ‘Not sure where to begin? Start here.’ and then link to your three or four most important posts in logical order. It’s one of the most effective things you can add to a beginner blog, and it costs nothing but a little time to write.
Making Your WordPress Site Look Professional
Professional doesn’t mean expensive or complicated. It means consistent, readable, and trustworthy. Most of the things that make a website look polished come down to a handful of decisions made once and stuck to.
Typography matters more than most people realise. Choose two fonts at most: one for your headings and one for your body text. Your WordPress theme will usually set these for you, but check that the body text is at least 16 pixels in size and that the line spacing gives the text room to breathe. Dense, cramped text is one of the fastest ways to make a site look amateur.
Colour consistency is the other big one. Pick two or three colours and use them everywhere. Your headings, your buttons, your links, your highlighted text. When colours are random and inconsistent it looks unfinished, even if the content is excellent.
Images should be a similar size and style throughout the site, as we covered with featured images. If you’re using lifestyle photography, stick to that style. If you’re using illustrated graphics, stick to those. Mixing the two rarely works.
Finally, check your site on your phone. More than half of all web traffic comes from mobile devices, and a site that looks lovely on a desktop can be almost unreadable on a small screen if the theme isn’t set up properly. Most modern WordPress themes are responsive, meaning they adjust automatically for different screen sizes, but it’s always worth checking. Go to your site on your phone, read a post, try to navigate to another page. If anything feels fiddly or the text is too small, it’s worth fixing before you start sending people there.
Trust Signals That Make People Feel Safe
We covered these in detail back in What Should I Include on My Website, so I won’t repeat them all here. But it’s worth a quick reminder that trust signals aren’t a nice-to-have. For an audience who has been burned by dodgy online courses and faceless gurus, they’re essential.
Make sure your About page is written and linked from your main menu. Make sure your Contact page works and is findable. Make sure you have a Privacy Policy in your footer, especially if you’re collecting email addresses. And make sure your footer has your site name and at least a couple of useful links, including your blog and your contact details.
These things take an afternoon to sort out properly. Once they’re done, they quietly build credibility every single day without you having to do anything else.
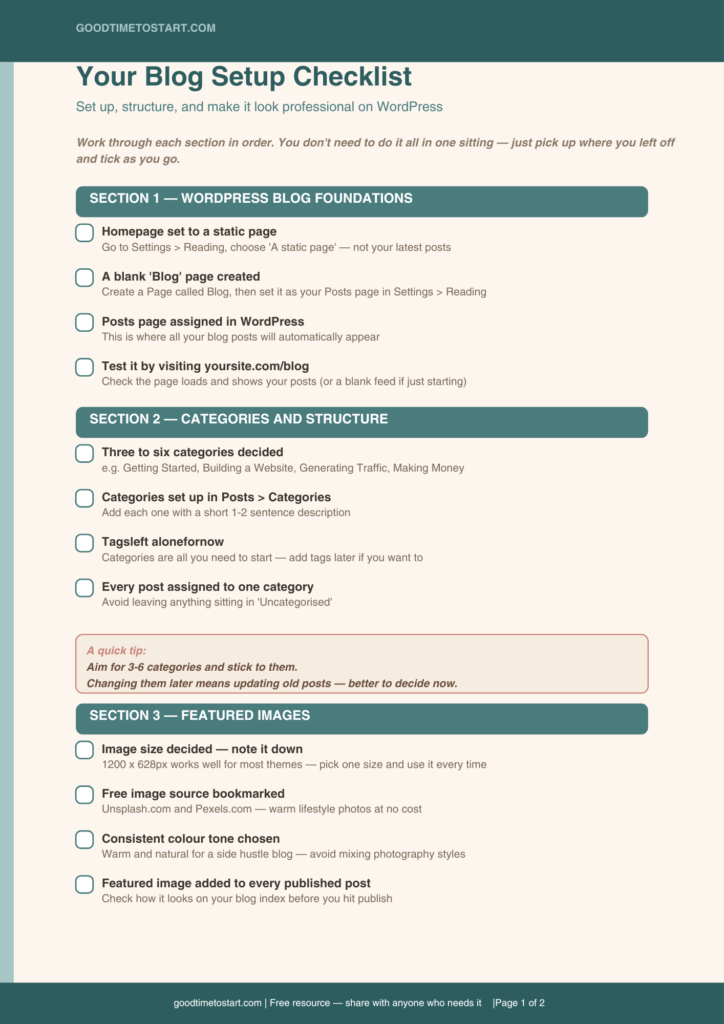
Your Professional Blog Setup Checklist
Before you call your blog ready, run through these quickly:
- Homepage set to a static page, not your latest posts.
- A separate Blog page created and set as your Posts page in Settings.
- Three to six categories set up with short descriptions.
- Featured image size decided and used consistently.
- Main menu set up with five or six items at most.
- A Start Here page created and added to your menu.
- Typography and colours consistent throughout.
- Site checked on mobile and readable on a small screen.
- About, Contact, and Privacy Policy all working and findable.
If you’ve downloaded the Website Checklist from this site, you’ll find most of these in there too. Tick them off as you go and you’ll have a blog that looks considered and trustworthy from the very first post.
What Comes Next
Once your blog is set up and looking the part, the next question is how you get people to actually find it. That’s where SEO comes in, and it’s less terrifying than it sounds.
Head over to Post 18: SEO for Beginners, where I’ll explain what SEO actually means, what Google is really looking for, and give you five practical things you can do on your WordPress site this week to start getting found.
And if you found this post useful, I’d genuinely love to know: which bit feels fiddliest for you right now? Is it getting the categories set up, sorting the menus, or making the whole thing look tidy and consistent? Leave a comment below. I read every one, and it helps me know where to focus next.